

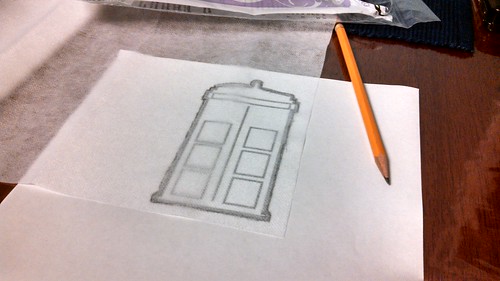
Find an image to trace...
http://farm4.staticflickr.com/3770/9693881035_c68621da23.jpgtrace!
http://farm8.staticflickr.com/7335/9697108482_83f6f83ec7.jpgonce traced, then cut out and get ready to iron...
Ironing
http://farm4.staticflickr.com/3762/9697107800_e419ee0372.jpgwith an iron, fuse the Heat n Bond Lite to the fabric
cut everything out
http://farm4.staticflickr.com/3756/9693880285_768573772e.jpgonce cool, cut out the shapes
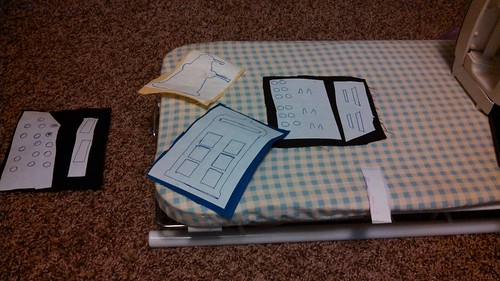
Lay everything out
http://farm3.staticflickr.com/2841/9697107356_6d8dcdba67.jpgto ensure it looks good and all the small pieces fit
Iron On
http://farm6.staticflickr.com/5545/9693976337_3f71efebb4.jpgremove paper backing and iron onto fabric
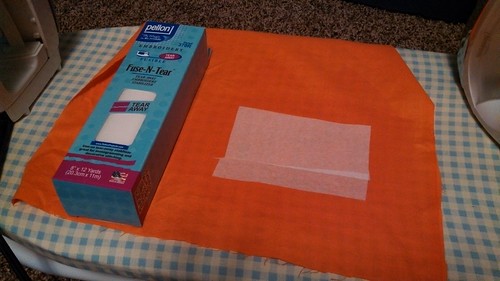
Fuse-N Tear
http://farm3.staticflickr.com/2870/9693952873_a7f7bfa740.jpgonce all pieces are ironed on, cool, flip over, and iron on Fuse-N Tear stabilizer
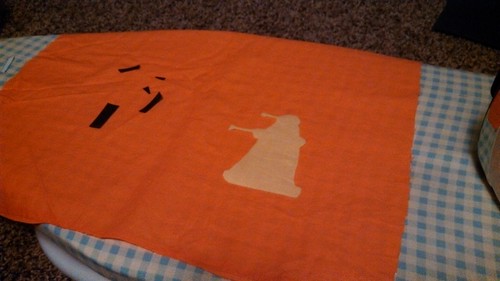
Applique in progress
http://farm3.staticflickr.com/2807/9693952381_0f21df1188.jpgstitching all of the different pieces down
laying everything out one last time
http://farm4.staticflickr.com/3671/9693952207_4692a2212d.jpgjust to ensure everything still looks ok
pin the pillow
http://farm8.staticflickr.com/7362/9693952667_e663e1e52b.jpgpin the two pieces of fabric together, wrong side out
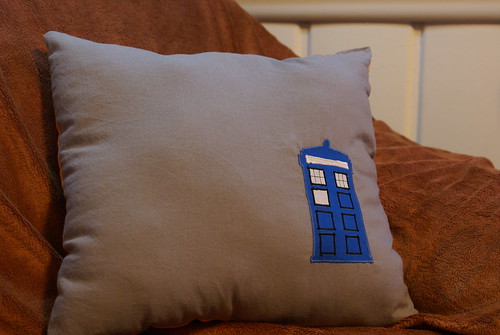
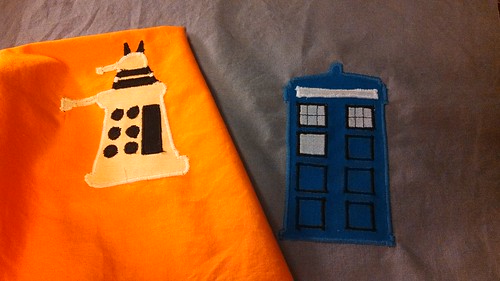
Tardis side
http://farm8.staticflickr.com/7416/9693882489_f96814e1da.jpgTardis side of the pillow
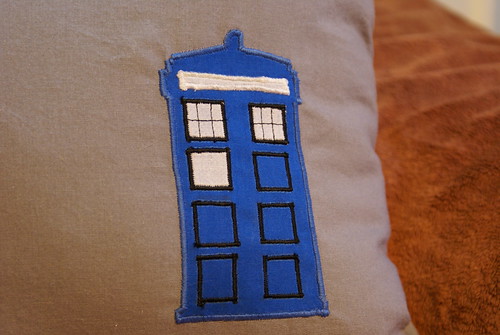
upclose Tardis
http://farm4.staticflickr.com/3815/9693881297_d8a9e5944c.jpgDalek side
http://farm8.staticflickr.com/7345/9693882103_df5926d476.jpgDalek side of the pillow
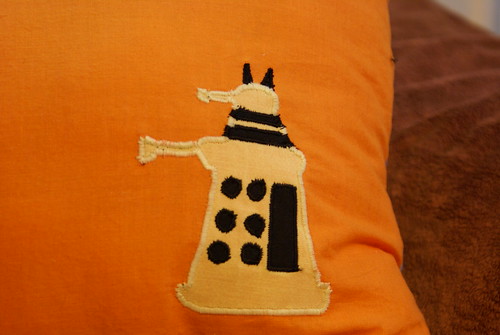
up close Dalek
http://farm6.staticflickr.com/5331/9693881855_518382a672.jpg


Materials used:
- Fusible Heat 'n Bond Lite (adhesive)
- Pellon Fuse-N-Tear
- fabric and thread
- PolyFill (polyester fiber filling)
Measurements & Sewing Machine Settings:
- 14.5" x 14.5" pillow fabric
- 3" tall Dalek & Tardis
- Applique pieces placed 3" from the edges of the fabric
- zig-zag stitch set to stitch width of 3.0 and stitch length of 0.2 for edges
- zig-zag stitch set to stitch width of 2.0 and stitch length of 0.2 for smaller detail pieces (like eggs on the Dalek skirt)
love your Dr Who projects! the dalek is great too (I love Daleks and Cybermen) - will you be doing a cyberman too? I think it would be very difficult though :)
ReplyDeleteooh, that's a good idea. Maybe a Cyberman and a Sonic Screwdriver pillow. Hmm...
ReplyDeleteHi there, I read your blogs on a regular basis. Your humoristic style is witty, keep it up! Thank You for Providing Such a Unique and valuable information, If you are looking for the best Best Pillow For Neck Pain Amazon, then visit Eliterest. I enjoyed this blog post.
ReplyDelete