

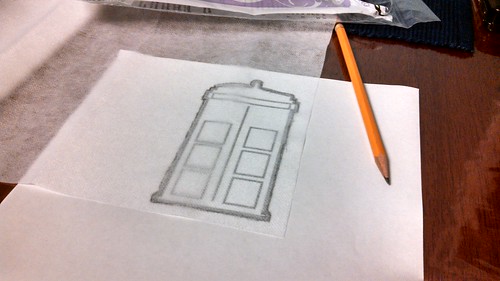
Find an image to trace...
http://farm4.staticflickr.com/3770/9693881035_c68621da23.jpgtrace!
http://farm8.staticflickr.com/7335/9697108482_83f6f83ec7.jpgonce traced, then cut out and get ready to iron...
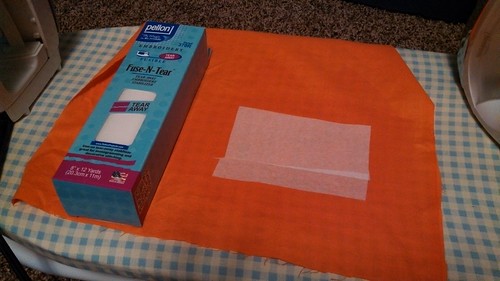
Ironing
http://farm4.staticflickr.com/3762/9697107800_e419ee0372.jpgwith an iron, fuse the Heat n Bond Lite to the fabric
cut everything out
http://farm4.staticflickr.com/3756/9693880285_768573772e.jpgonce cool, cut out the shapes
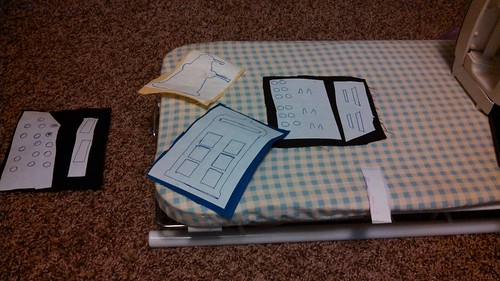
Lay everything out
http://farm3.staticflickr.com/2841/9697107356_6d8dcdba67.jpgto ensure it looks good and all the small pieces fit
Iron On
http://farm6.staticflickr.com/5545/9693976337_3f71efebb4.jpgremove paper backing and iron onto fabric
Fuse-N Tear
http://farm3.staticflickr.com/2870/9693952873_a7f7bfa740.jpgonce all pieces are ironed on, cool, flip over, and iron on Fuse-N Tear stabilizer
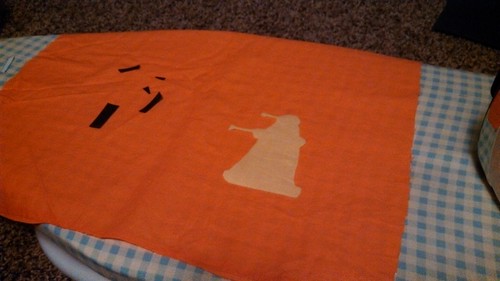
Applique in progress
http://farm3.staticflickr.com/2807/9693952381_0f21df1188.jpgstitching all of the different pieces down
laying everything out one last time
http://farm4.staticflickr.com/3671/9693952207_4692a2212d.jpgjust to ensure everything still looks ok
pin the pillow
http://farm8.staticflickr.com/7362/9693952667_e663e1e52b.jpgpin the two pieces of fabric together, wrong side out
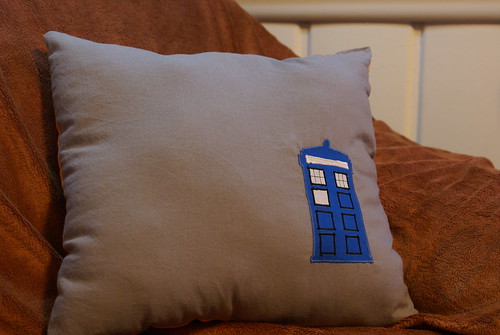
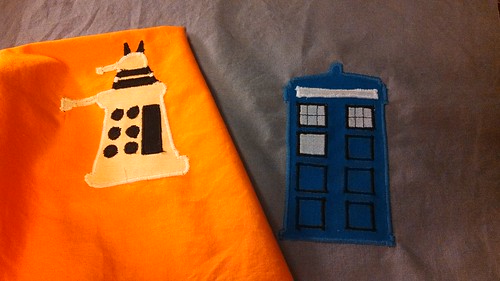
Tardis side
http://farm8.staticflickr.com/7416/9693882489_f96814e1da.jpgTardis side of the pillow
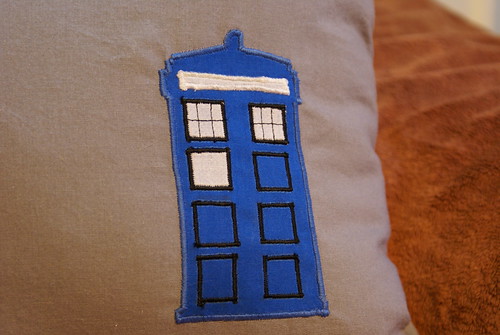
upclose Tardis
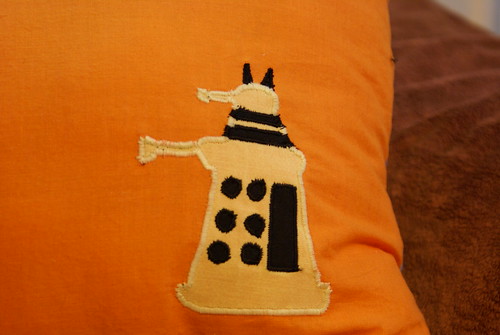
http://farm4.staticflickr.com/3815/9693881297_d8a9e5944c.jpgDalek side
http://farm8.staticflickr.com/7345/9693882103_df5926d476.jpgDalek side of the pillow
up close Dalek
http://farm6.staticflickr.com/5331/9693881855_518382a672.jpg


Materials used:
- Fusible Heat 'n Bond Lite (adhesive)
- Pellon Fuse-N-Tear
- fabric and thread
- PolyFill (polyester fiber filling)
Measurements & Sewing Machine Settings:
- 14.5" x 14.5" pillow fabric
- 3" tall Dalek & Tardis
- Applique pieces placed 3" from the edges of the fabric
- zig-zag stitch set to stitch width of 3.0 and stitch length of 0.2 for edges
- zig-zag stitch set to stitch width of 2.0 and stitch length of 0.2 for smaller detail pieces (like eggs on the Dalek skirt)


3 comments:
love your Dr Who projects! the dalek is great too (I love Daleks and Cybermen) - will you be doing a cyberman too? I think it would be very difficult though :)
ooh, that's a good idea. Maybe a Cyberman and a Sonic Screwdriver pillow. Hmm...
Hi there, I read your blogs on a regular basis. Your humoristic style is witty, keep it up! Thank You for Providing Such a Unique and valuable information, If you are looking for the best Best Pillow For Neck Pain Amazon, then visit Eliterest. I enjoyed this blog post.
Post a Comment